Kitsune Evolution Getting Started
First-hour checklist for +1 Kitsune Evolution — from first steps to a clean rebirth plan.
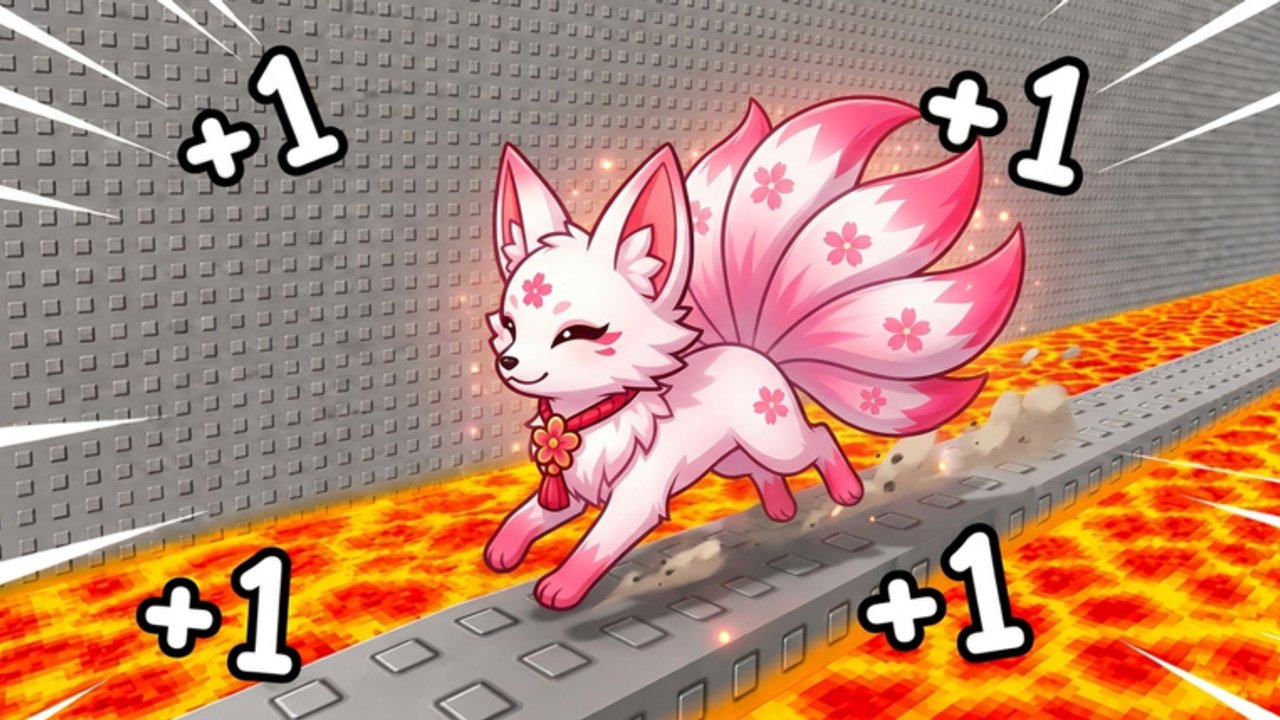
This Getting Started guide is the first-hour playbook for +1 Kitsune Evolution on Roblox. You will learn the core loop, redeem free codes, survive early hazards, hatch a useful pet, try treadmills, and know what to unlock before your first rebirth. If you only read one page today, make it this one — then branch into stages, speed farming, and rebirth.
What kind of game this is
Kitsune Evolution (official Roblox title +1 Kitsune Evolution, created by Kagusen) is an incremental simulator. Progress comes from repeating a tight loop smarter each time:
- Run through stages to gain Speed.
- Touch Win pads to earn Wins.
- Unlock Kitsune transformations.
- Hatch eggs for pets.
- Use treadmills to multiply Steps.
- Rebirth for bigger bonuses.
- Equip trails as polish on a working kit.
Stages you will eventually clear: Sakura, Beach, Snow, Wild West, Magma, Desert, Space. You do not need Space on day one. You need clean habits in Sakura and Beach.
Minute 0–5: join and claim codes
- Open the official experience: +1 Kitsune Evolution.
- Join a server and find the Codes UI on your HUD.
- Redeem every working code from the Codes Hub:
RELEASE,KITSUNE,SECRET,50LIKES,100LIKES. - Confirm Wins or boosts landed before you spend anything.
Free currency at minute five prevents “broke starter” decisions. A promised 200 likes code may appear later — recheck codes after milestones. Skip Robux until you understand the free loop; when you are ready to compare paid treadmills, forms, Auto Hatch, or phone minigames, open Gamepasses.
Minute 5–20: learn Win pads and Speed
Your early job is not sightseeing. Run the open Sakura lanes, touch every Win pad you can reach, and notice how Speed changes how often pads come back into range. Buy the cheapest upgrades that raise movement or Win income. Avoid vanity spends until you understand the pad rhythm.
If you die to a deadly floor, use Teleport Back and treat the death as a route lesson, not a rage quit. Early floors teach the same discipline Magma will demand later. Movement habits live on Controls; more hazard detail lives on Players and Stages.
Minute 20–35: first pet and treadmill
When you can afford a starter egg, hatch it. Equip anything that boosts Speed or Steps immediately. One equipped farm pet beats five unequipped trophies. Read Pets and Eggs if the inventory feels confusing, and skim the pets tier list so you know what “good” looks like later.
Next, find a treadmill and run a short Steps session. Treadmills multiply the boring part of incremental games on purpose — short focused bursts beat AFK confusion. The full pattern is in Speed Farming.
Minute 35–55: Beach and first transformation checkpoint
Push into Beach once Sakura pads feel trivial. Keep redeeming the same loop: Speed → pads → Wins → unlock. If a Kitsune transformation unlock appears and clearly raises run speed, take it. If it is expensive flavor, wait. Compare with the transformations tier list.
Do not tunnel into Wild West yet if Beach deaths are still common. Rising sand and deadlier floors show up as you climb; learn Teleport Back recovery now.
Minute 55–60: write your rebirth plan
Before the session ends, open the Rebirth Guide and decide what Wins total or unlock set triggers your first rebirth. Players who “just one more upgrade” for two hours often delay the multiplier that would have made those upgrades cheaper after reset.
A simple first-rebirth rule of thumb: rebirth soon after you understand pads, own a usable pet, and feel upgrades getting expensive relative to clear speed — not after you are already soft-locked emotionally into a pile of currency.
First-hour checklist
- Redeemed all listed codes
- Touched Win pads on a repeatable Sakura route
- Bought at least one Speed-oriented upgrade
- Hatched and equipped a pet
- Completed one treadmill Steps burst
- Reached or approached Beach
- Noted the next transformation cost without impulse buying
- Bookmarked rebirth criteria
What not to do on day one
- Ignore codes because you “want to earn everything” — free Wins are part of the design.
- Spend every Win on random eggs before learning pads.
- Chase Space spoilers instead of mastering Sakura routes.
- Install random scripts from unverified pastes — read Scripts for why this wiki lists none yet.
- Skip hazard practice; Teleport Back exists because deaths will happen.
Where to go next
| If you feel… | Open |
|---|---|
| Lost in zones | Stages Walkthrough |
| Slow despite playing | Speed Farming |
| Egg-confused | Pets and Eggs |
| Ready to reset | Rebirth |
| Choosing forms/pets | Tier List Hub |
| Considering Robux | Gamepasses |
| Need controls focus | Controls / Players Hub |
Mindset for incremental sims
Kitsune Evolution rewards calm repetition with better multipliers. Your first hour succeeds if you leave with a clean loop, not a maxed account. Claim gifts, learn pads, equip a pet, touch a treadmill, plan rebirth, then go deeper with the linked guides. That is the Kitsune Evolution onboarding path this wiki recommends.
Frequently Asked Questions
Quick answers to the most common questions.
What should I do first in Kitsune Evolution?
Join the official Roblox experience, redeem all working codes, then run Sakura Win pads while buying basic Speed upgrades.
When should I hatch my first pet?
As soon as you can afford a starter egg without emptying the Wins you need for essential movement upgrades. Equip it immediately.
What does Teleport Back do?
After hazard deaths such as deadly floors, Teleport Back returns you so you can resume the loop instead of soft-locking out of the run.
Should I rebirth in the first hour?
Often you only plan it in the first hour. Rebirth when upgrades feel expensive relative to clear speed and you already understand pads and pets — see the Rebirth guide.
Which stage should a beginner finish first?
Master Sakura, then Beach. Push Snow only when Beach pads and hazards feel manageable.