Kitsune Evolution Stages Guide
Sakura to Space routes, Win pads, and hazard survival for every zone.
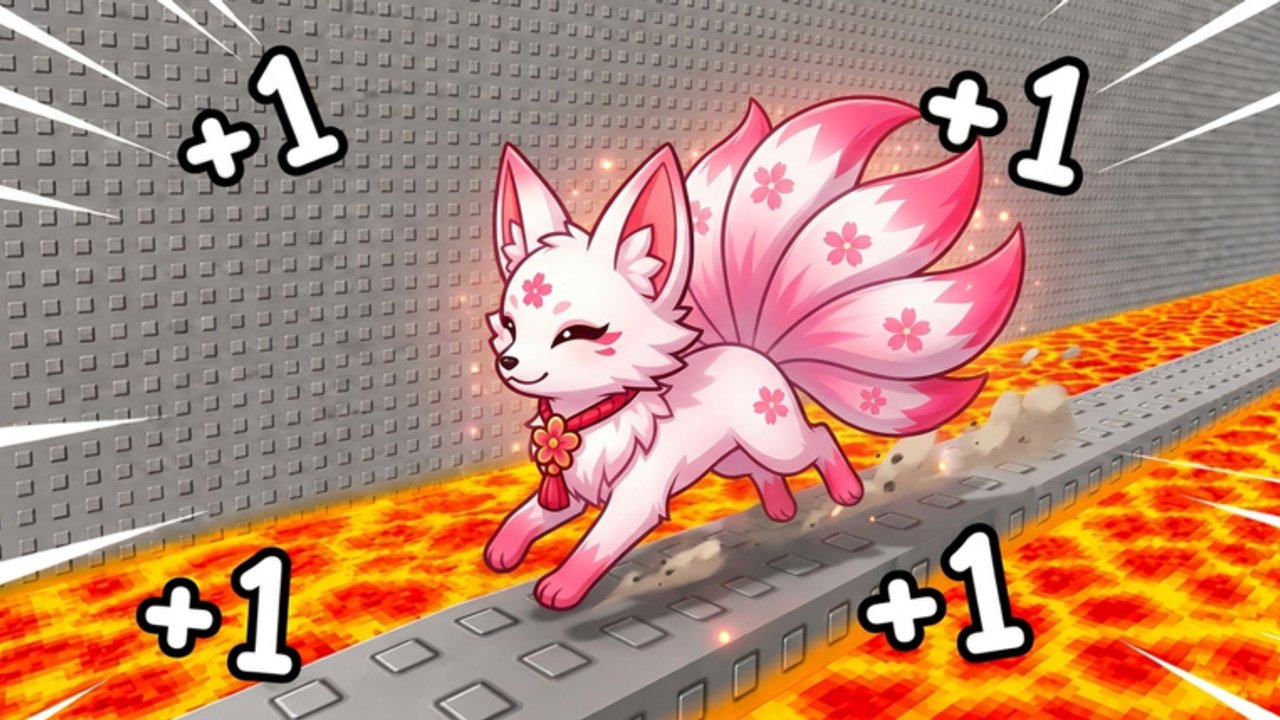
This Stages Walkthrough covers every listed zone in +1 Kitsune Evolution: Sakura, Beach, Snow, Wild West, Magma, Desert, and Space. Each stage exists to stretch your Speed, Win pad routes, pet setup, and hazard discipline. Use it with Getting Started, Speed Farming, and Players so movement tips and route goals stay aligned.
Universal stage rules
- Your job in every zone is the same: gain Speed, touch Win pads, leave with more Wins than you entered.
- Deadly floors end runs instantly if you panic-strafe onto them. Slow down at new geometry.
- Rising sand in some zones forces vertical or timing awareness — do not AFK in a pit that fills.
- Teleport Back returns you after death so one mistake is a delay, not a deleted account. Use it, then correct the route.
- Push a new stage when you can farm it stably, not when you can barely screenshot the entrance.
Sakura — tutorial biome
Sakura is the onboarding garden. Learn pad locations, buy basic Speed upgrades, redeem codes, and hatch your first pet. Treat every death as a lesson in camera angles and floor edges.
Goals: complete a repeatable pad loop, equip a pet, try a treadmill session, unlock Beach access without emptying your Wins on cosmetics.
Tips: stay wide of decorative hazards, memorize the safest lane, and leave once Beach is open and Sakura feels automatic.
Beach — first real stretch
Beach lengthens routes and starts asking for real Speed. Win pads may sit behind light platforming. If you struggle, return to Sakura for a short farm rather than rage-spending.
Goals: stabilize income, consider your first meaningful Kitsune transformation, prepare for colder hazards ahead.
Tips: keep Teleport Back ready mentally; Beach deaths often come from overconfidence after Sakura felt free.
Snow — visibility and footing
Snow introduces harsher footing and denser hazard reading. Speed still matters, but panic sprints into deadly floors cost more time than careful lines.
Goals: farm enough Wins to keep pets upgraded and bank toward rebirth if upgrades stall (rebirth).
Tips: shorten your route to pads you can hit consistently. A clean short loop beats a heroic long loop that kills you twice.
Wild West — spacing and momentum
Wild West opens space and tempts reckless diagonal running. Momentum is great until a deadly floor or sand trap deletes the lap.
Goals: prove your pet loadout still matters at higher Speed (pets tier list). Mix treadmill bursts between stage pushes.
Tips: mark landmark props mentally as turn markers so pad routes stay consistent between deaths.
Magma — high punishment
Magma is where hazard discipline separates kits. Deadly floors are less forgiving; recovery time hurts Win rates. If Magma feels impossible, your problem may be Speed farming or rebirth timing — not “bad luck.”
Goals: stable Magma pad income, evaluate whether a stronger transformation is worth the cost (transformations tier list).
Tips: after each death, change one thing: angle, jump timing, or route segment. Do not repeat the identical mistake five times.
Desert — endurance and sand
Desert leans on endurance and sand-related hazards. Rising sand punishes AFK standing and poorly timed dips into pits. Bring a kit built for sustained running, not burst sightseeing.
Goals: long clean sessions that fund late eggs and trails without constant Teleport Back spam.
Tips: schedule treadmill breaks so Fatigue-of-focus does not walk you into sand. Hydrate your attention, not only your character fantasy.
Space — end-lane pressure
Space is the headline late stage. Expect to need layered bonuses: pets, forms, trails, rebirth multipliers, and practiced movement. Arriving undergeared turns Space into a death gallery.
Goals: establish any stable Space farm route; then optimize with speed farming rather than random upgrades.
Tips: if Space is a wall, rebirth or pet upgrades usually beat staring at the entrance. Re-check Updates for new codes that ease the push.
Stage progression table
| Stage | Focus | Common failure |
|---|---|---|
| Sakura | Learn pads | Ignoring codes / pets |
| Beach | Extend routes | Overconfidence |
| Snow | Controlled Speed | Panic into floors |
| Wild West | Momentum lines | Sloppy diagonals |
| Magma | Hazard discipline | Repeating bad routes |
| Desert | Endurance + sand | AFK in rising sand |
| Space | Full kit pressure | Entering underpowered |
Hazard deep dive
Deadly floors
Treat new dark or marked surfaces as guilty until proven safe. Approach with reduced Speed if your trail or form makes camera reading harder. After a death, Teleport Back and walk the same segment slowly once.
Rising sand
When sand rises, prioritize escape elevation and pad value. A pad inside a filling pit is not worth three deaths. Rejoin the route at a safe anchor.
Teleport Back
Teleport Back is part of the kit, not an admission of failure. Instantly rejoin your loop, spend one second naming the mistake, then continue. Players who sit in menus after every death lose more Wins than the hazard stole.
Suggested push order with systems
- Sakura + codes + first pet
- Beach + first form consideration
- Snow + rebirth planning
- Wild West + treadmill habits
- Magma + pet tier upgrades
- Desert + endurance kit
- Space + full tier list optimization
Related links
- Guides Hub — all how-tos
- Players Hub — controls and survival habits
- Rebirth Guide — when to reset mid-climb
- Codes Hub — fuel for stuck stages
Clear stages with intent. Kitsune Evolution is not a tourism sim — every biome is a farm exam for your Speed, pets, and calm.
Frequently Asked Questions
Quick answers to the most common questions.
What is the stage order in Kitsune Evolution?
Sakura, Beach, Snow, Wild West, Magma, Desert, then Space.
What hazards should I watch for?
Deadly floors and rising sand in some zones. After death, use Teleport Back and fix the route segment that killed you.
When should I move to the next stage?
When you can farm the current stage stably for Wins. Barely surviving the entrance is not the same as being ready.
I am stuck on Magma — what now?
Improve Speed farming, pets, and consider rebirth or a stronger transformation before forcing Desert.
Does Teleport Back cost progress permanently?
It returns you after death so you can continue. The real cost is lost lap time — minimize repeats by correcting mistakes.